
Summary: The building a house steps now call for installing drywall, painting a primer coat, installing interior trim, and kitchen an bathroom cabinets.
STEP 14: Drywall (2 weeks)
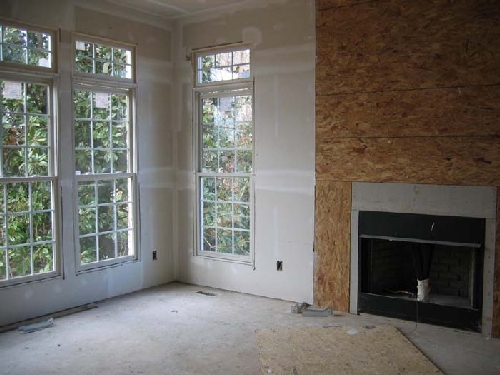
Most residential interior walls are finished with 1/2"x4'x8' gypsum wallboard called drywall (Sheetrock is a brand name). For baths and other moist areas use a waterproof board or paint the drywall with enamel paint, even before wallpapering.
To determine the square footage of drywall needed, or the number of drywall boards needed, multiply the floor area involved by 4. This will give you the approximate square footage of wall and ceiling area. Then divide that square footage by 32 (4x8=32) for the number of boards.
For example, if a room is 15ft by 15ft, that would be 225 sq ft of floor area. 225 sq ft of floor area times 4 equals 900 sq ft of drywall area, or approximately 28 boards. Sounds crazy, but it works for rooms with 8ft ceilings.
Your drywall contractor can give you a contract bid based on the square footage. Some will give you a bid that includes all materials. On your first house you may want to go this route. 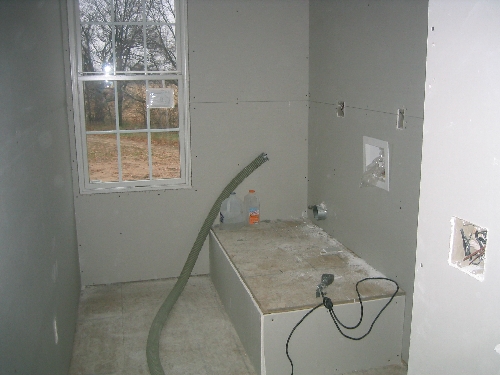
STEP 15: Priming Walls and "Pointing Up" (2 days)
After the drywall is finished and before the interior trim is applied, I prime all walls and ceilings with a flat white latex primer. My two painters do this with a spray gun and in one day can do a house that measures 3,000 square feet.
Priming reduces the finish painting time considerably, which saves you money.
With no trim installed, only windows need to be protected during spraying.
If all of your woodwork (trim) is going to be painted instead of stained, priming the walls by spraying can be postponed until the painting stage. 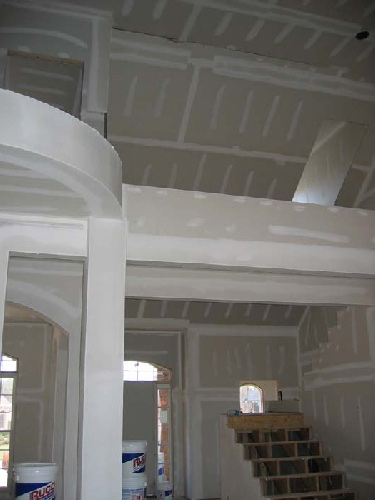
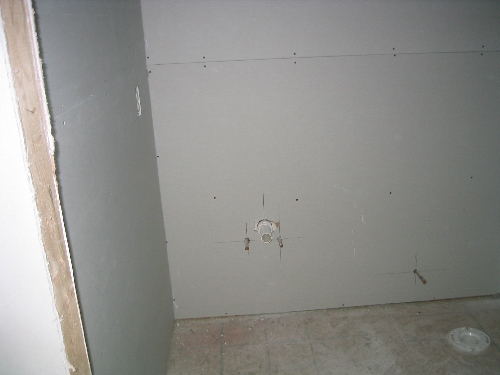
When the walls and ceilings are primed, the slight imperfections that sometimes occur in finishing drywall will show up. At this time you can have your drywall subcontractor touch up these places so that the walls and ceilings will be ready for final painting (this is called pointing up). Pointing up can also be done just after the interior trim is finished in case the walls get nicked during this process. I have done it both times, and at no extra charge.
STEP 16: Interior Trim and Cabinets (1-2 weeks) 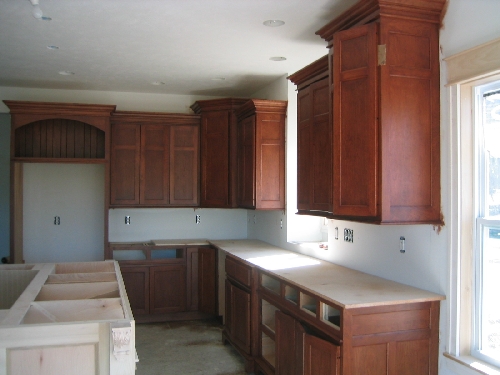
Doors, moldings, cabinets, countertops, and shelves are installed at this time. This includes kitchen cabinets, bath cabinets, bathroom sink bases and medicine cabinets, and all other built-in cabinets such as bookcases. Cabinets that were ordered after the completion of step 8 should be ready for delivery and installation.
The cost of installation should be worked out in advance between you and either your carpenter, supplier, or cabinetmaker if you use shop-built cabinets.
Interior trim labor usually includes standard trim and moldings. Any special molding or trim work, or any paneling, should be discussed with your carpenter in the planning stages to determine the extra cost of installation.
Your millwork supplier, usually a lumber company or home center, can do a complete material take-off for your trim and discuss the costs of extra items.
Back to the "steps" overview page|next page | 1 2 3 4 5 6 7 8 9
